


Your home’s first showing usually happens before a buyer ever reaches the front door. It happens on a phone, where people decide in seconds whether a home feels bright, cared for and worth seeing in person.
Professional photography can make a meaningful difference, but even the best photographer cannot fully hide crowded countertops, mismatched light bulbs, pet supplies or a driveway full of cars. The goal is not to make your home look empty or perfect. It is to remove the visual distractions that keep buyers from noticing the space itself.
I help my sellers make these decisions before photography day so they are not scrambling while the photographer is waiting. If you are preparing to sell in Renton or the surrounding area, use this checklist as your final reset.
Start with Tanya’s seller planning process if you want help deciding what is worth doing, and what is not.
The quick plan
Two to three days before
- Finish small visible repairs and paint touchups.
- Declutter shelves, counters, floors and entryways.
- Deep clean glass, mirrors, fixtures and major surfaces.
- Tidy landscaping and remove exterior clutter.
- Decide where pets, vehicles and everyday necessities will go during the shoot.
The night before
- Make every bed and set out clean, simple towels.
- Clear the kitchen and bathroom counters.
- Pack away family photos, paperwork, chargers and pet supplies.
- Check every interior and exterior light.
- Confirm the photographer’s arrival time and access instructions.
Fifteen minutes before
- Turn on every light.
- Open blinds and curtains evenly.
- Turn off fans, televisions and computer screens.
- Close toilet lids.
- Remove cars, trash cans, hoses and last-minute clutter.
- Take children and pets with you and let the photographer work.
Whole-home photo preparation
1. Clear the floors first
Shoes, baskets, toys, small stools and floor mats can make a room feel tighter in photographs. Start at the front door and walk the same path a buyer would take. Remove anything that breaks up the visible floor.
Keep large area rugs when they help define a room, but remove small runners and bath mats unless they are intentionally part of the design.
2. Simplify every surface
A useful rule is to leave only one or two purposeful objects on a counter, dresser, nightstand or table. Everyday items may feel invisible to you, but the camera makes them compete with the room.
Put chargers, mail, medications, remotes, tissue boxes and loose paperwork into a bin that can travel with you during the shoot. Do not simply move the bin from room to room.
3. Remove personal and private information
Family photos do not automatically ruin a listing, but too many personal items make it harder for buyers to imagine the home as their own. Remove large photo groupings, calendars, school information, name labels, financial documents and anything that should not appear online.
This is partly about presentation and partly about privacy: listing photos can remain online long after a home sells.
4. Check every light bulb
Turn on every ceiling fixture, lamp and exterior light. Replace burned-out bulbs and, when possible, use bulbs with a consistent color temperature within each room. A mix of blue-white and warm-yellow bulbs can make photographs feel uneven even when the room looks fine in person.
5. Open the window coverings
Open curtains, blinds and shades evenly unless a window looks directly at something distracting. Natural light helps show the shape and scale of a room. Dust the blinds and clean obvious fingerprints or pet marks from the glass.
6. Turn off moving or glowing distractions
Ceiling fans should be off so the blades photograph sharply. Turn off televisions, computer monitors and digital displays when possible. A blank screen is calmer than a bright app, paused show or reflection.
7. Make the home smell neutral
Photos cannot show odor, but buyers often schedule a showing soon after seeing the listing. Remove trash, litter boxes, smoke residue and strongly scented plug-ins. Clean pet areas with the correct product and ask someone who does not live in the home for an honest smell check.
8. Hide pet supplies
Put away bowls, beds, crates, toys, scratching posts and waste supplies. Arrange for pets to leave the property during photography, especially if the shoot includes video, drone footage or a 3D tour.
Kitchen checklist
9. Clear the counters
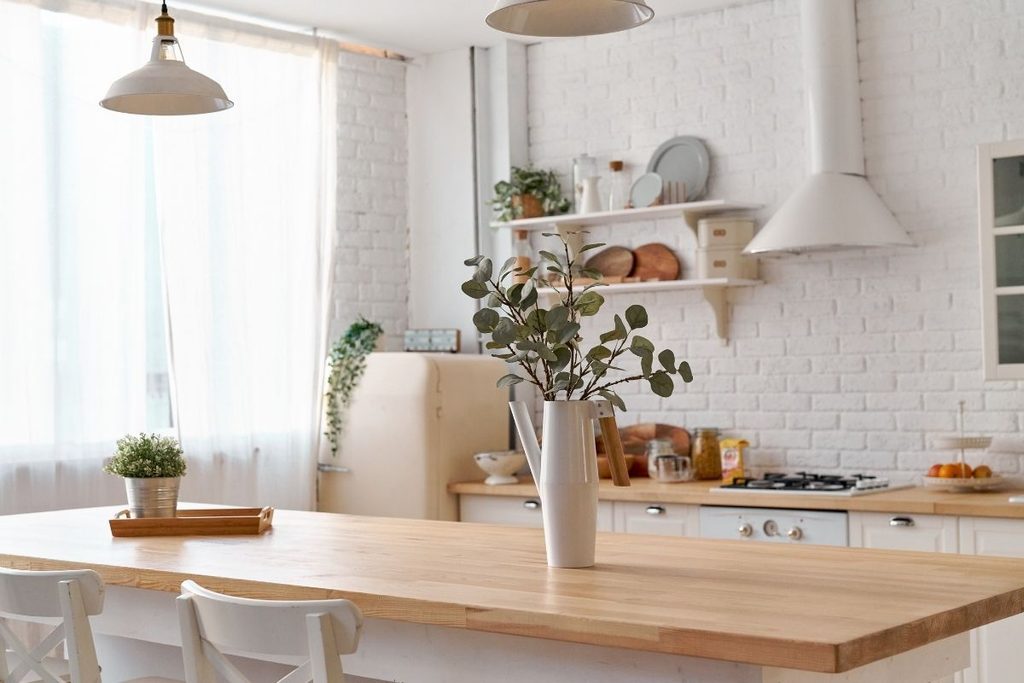
Remove small appliances, drying racks, soaps, sponges, vitamins and food containers. One coffee maker may stay if it looks intentional and the surrounding counter is otherwise clear.
10. Clean the sink and appliances
Empty the sink and dishwasher. Wipe the sink, faucet, backsplash, counters and appliance fronts. Stainless steel shows fingerprints clearly in high-resolution photos.
11. Remove refrigerator clutter
Take down magnets, photos, schedules, papers and artwork from the refrigerator and other appliance surfaces. Remove items stored on top of the refrigerator as well.
12. Style lightly
A simple bowl of fruit, plant or clean cutting board can add warmth. Stop before the room becomes decorated for the camera. Buyers should notice the kitchen, not a collection of accessories.
Bathroom checklist
13. Create a hotel-clean counter
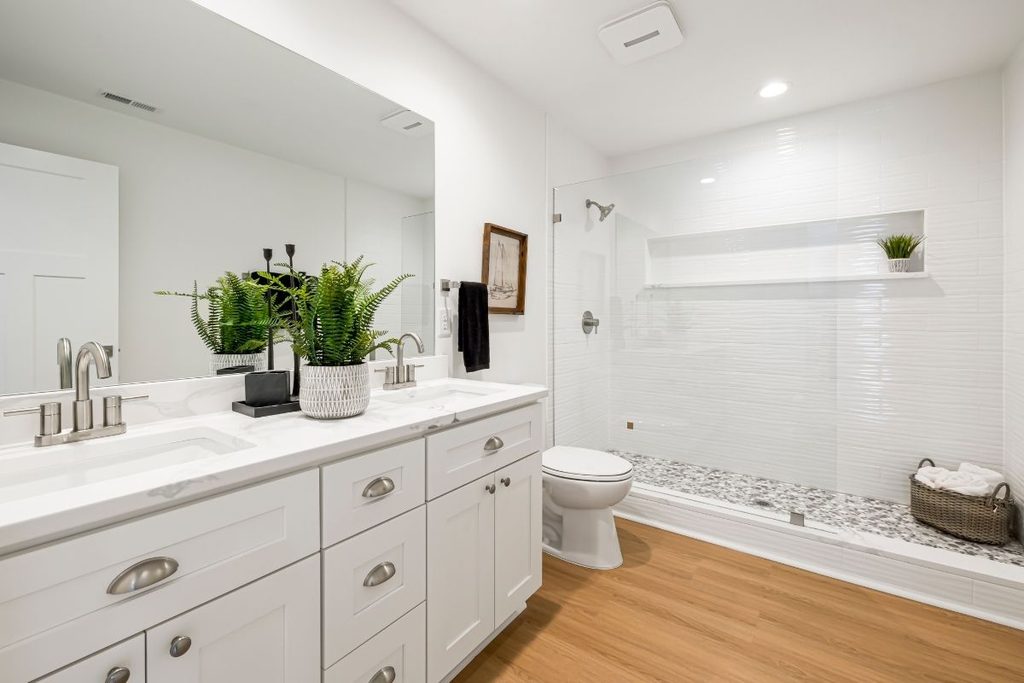
Remove toothbrushes, toiletries, medications, razors, makeup and cleaning products. Wipe the counter, sink, mirror and fixtures so they are dry and streak-free.
14. Clear the tub and shower
Remove bottles, soap, bath toys, scrubbers and hanging organizers. Close the shower curtain neatly or, for a glass enclosure, clean the glass and arrange the door as the photographer recommends.
15. Finish the details
Close toilet lids, remove toilet brushes and plungers, hang clean coordinating towels and remove the bath mat. Make sure the toilet-paper roll looks neat and the trash can is empty or out of view.
Bedroom checklist
16. Make every bed completely
Use smooth bedding and straighten the pillows. Hide anything stored under the bed that can be seen from the doorway. In children’s rooms, reduce toys and bright loose items without stripping away all personality.
17. Clear nightstands and dressers
Leave a lamp and perhaps one small decorative object. Remove cables, books, water bottles, jewelry, medications and personal care items.
18. Check the visible closets
Not every photographer opens closets, but buyers will. If a closet will be photographed or is a major selling feature, reduce its contents and straighten the shelves. A tightly packed closet suggests inadequate storage.
Living, dining and flex spaces
19. Show the purpose of each room
A room photographs best when its purpose is immediately clear. Remove extra furniture that blocks walking paths or makes the room feel smaller. If a space has become a mix of office, gym and storage, choose the use most likely to help a buyer understand it.
20. Reset the seating areas
Straighten cushions, fold throws neatly and remove excessive pillows. Clear side tables and coffee tables while keeping one or two simple objects for warmth.
21. Set the dining area simply
Clear paperwork and daily clutter. A clean table, chairs placed evenly and one low centerpiece are usually enough. Avoid tall arrangements that block sightlines through the room.
Exterior checklist
22. Make the front elevation the priority
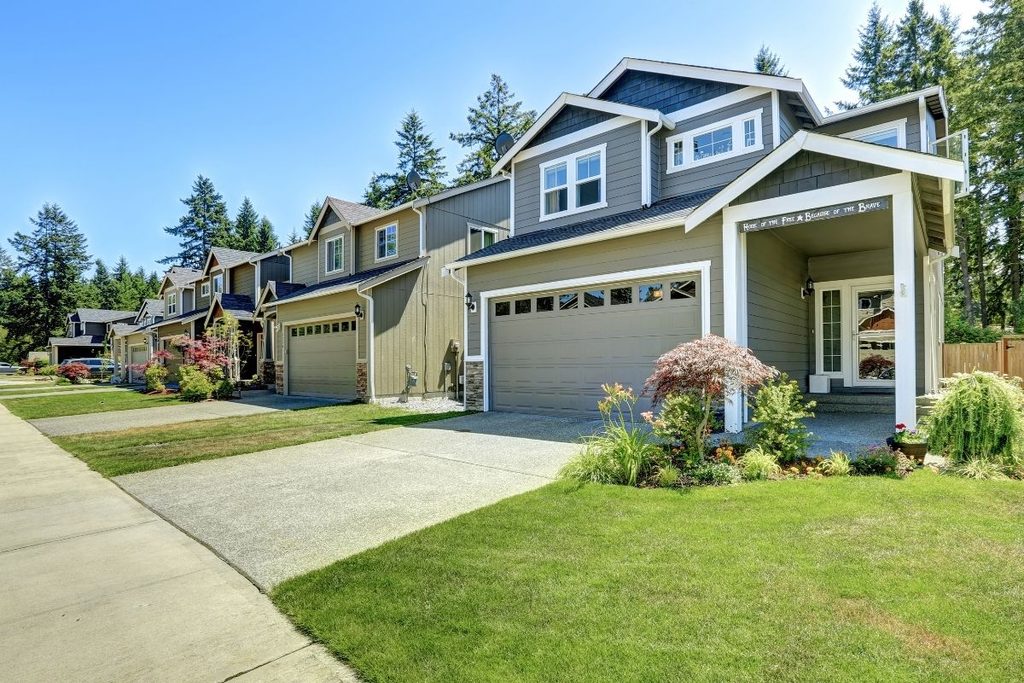
The first exterior image often becomes the listing’s lead photo. Mow or tidy the lawn, pull obvious weeds, sweep the walkway and porch, trim plants that block windows or the address, and remove seasonal items that are no longer timely.
23. Move vehicles and equipment
Move cars, trailers, bicycles and recreational equipment away from the driveway and front of the home. Store hoses, tools, lawn equipment and sports gear out of sight. If possible, ask nearby household members to keep the curb in front of the home clear during the exterior photographs.
24. Hide trash and recycling containers
Move containers into the garage or another location that will not appear in exterior, side-yard or aerial photos. Remember that drone photography may show areas that are hidden from street level.
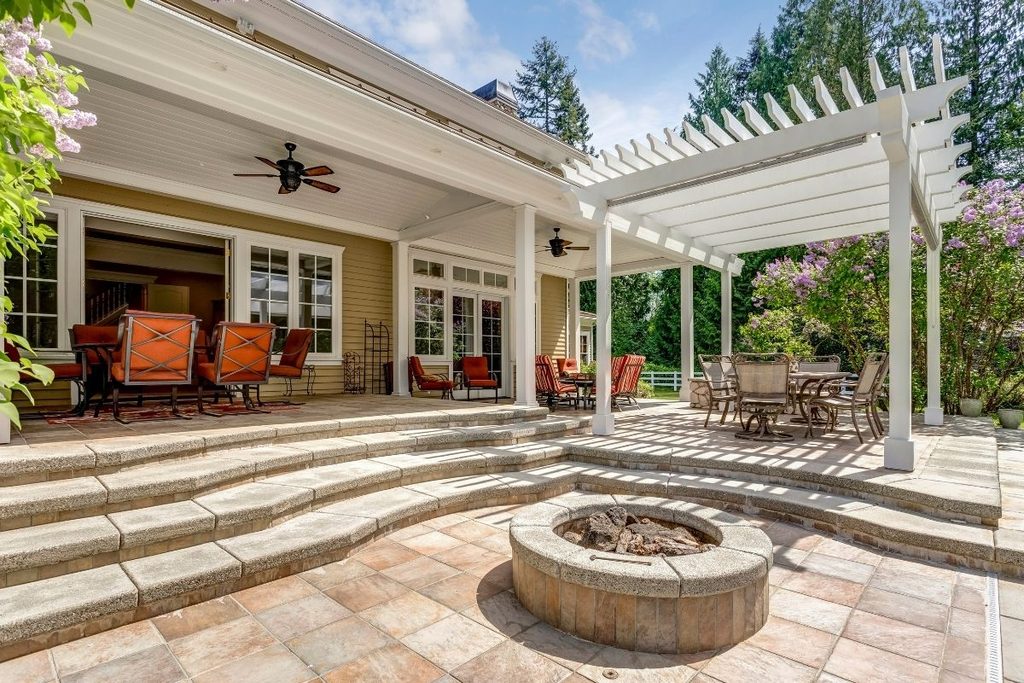
25. Stage outdoor living areas
Sweep patios, decks and balconies. Clean and arrange the furniture, open umbrellas when weather allows and remove worn covers. A small plant or clean set of cushions can help buyers understand how the area is used.
When the photographer arrives
Plan to leave the property for the full appointment. People and pets moving from room to room slow down the process and can appear in reflections or 3D tours.
Give your agent or photographer clear instructions for access, alarm systems and locking up. If weather affects exterior or drone images, be prepared for that portion of the shoot to move. Rescheduling an exterior is usually better than using a gloomy or windswept lead photo that does not represent the home well.
What you do not need to do
You do not need to remove every sign of life, buy an entirely new room of furniture or renovate simply for the photos. The right preparation depends on your home, price point, likely buyer and launch strategy.
Some homes need editing and cleaning. Others benefit from staging, paint or a small repair plan. The most expensive mistake is often doing a long list of improvements without first deciding whether buyers in your market will reward them.
Frequently asked questions
Should I hire a professional cleaner before listing photos?
If the home needs more cleaning than you can comfortably finish before the appointment, a professional cleaner can be worthwhile. Prioritize kitchens, bathrooms, floors, glass, mirrors and high-touch surfaces that show clearly in photographs.
Should I remove all family photos?
You do not have to erase every personal detail. Remove large collections, children’s names, schedules, private information and anything visually distracting. A few quiet pieces can remain when they fit the room.
Can I stay home during the photo shoot?
It is usually easier for the photographer to work when the home is empty. Plan an outing for everyone in the household, including pets.
What if the weather is bad?
Interior photography may continue, but exterior, twilight or drone images may need to be rescheduled. Your agent and photographer should decide based on the marketing plan.
What should I do with the clutter I still need every day?
Use lidded bins that can leave with you or be stored in a space that will not be photographed. Avoid hiding everything in the garage if the garage is an important feature of the home.
Should I repair inspection issues before the photos?
Visible maintenance problems can affect both the photographs and buyer confidence. Discuss repairs with your agent before spending money so the work supports the pricing and launch plan.
Your home does not have to be perfect, just thoughtfully prepared
The strongest listing photos are created through teamwork: the seller prepares the space, the photographer understands light and composition, and the agent makes sure the images support the home’s positioning.
If you are thinking about selling in Renton or the surrounding area, I can help you decide what to clean, repair, remove, stage or leave alone before the camera ever arrives.
Ask Tanya for a personalized selling plan.

Download Your Renton Listing Photo Checklist!
Want an easier way to keep track of everything?
Download the printable How to Prepare Your Renton Home for Listing Photos: A Room-by-Room Checklist and use it alongside this guide as you work through each part of your home.
Leave a Reply